
After I bought my first supply of Chalk Paint, I wanted to paint everything with it. I hadn't gone thrifting yet, so I figured it was time to give something we already owned a makeover. The lucky winner: my husband's dresser! I've had it since I was a baby and brought it with us when we moved into our first place together. It was serving its purpose quite well, but it wasn't much to look at. If you've read my About section, you know we live in a tiny apartment, and it's definitely not our forever home. I have a hard time decorating, because I know we wont be here for long and that's why I like to sell my pieces as well. For this dresser, I kept it relatively neutral so we can take it with us whenever we move.
Here's what the dresser looked like before I started the transformation.
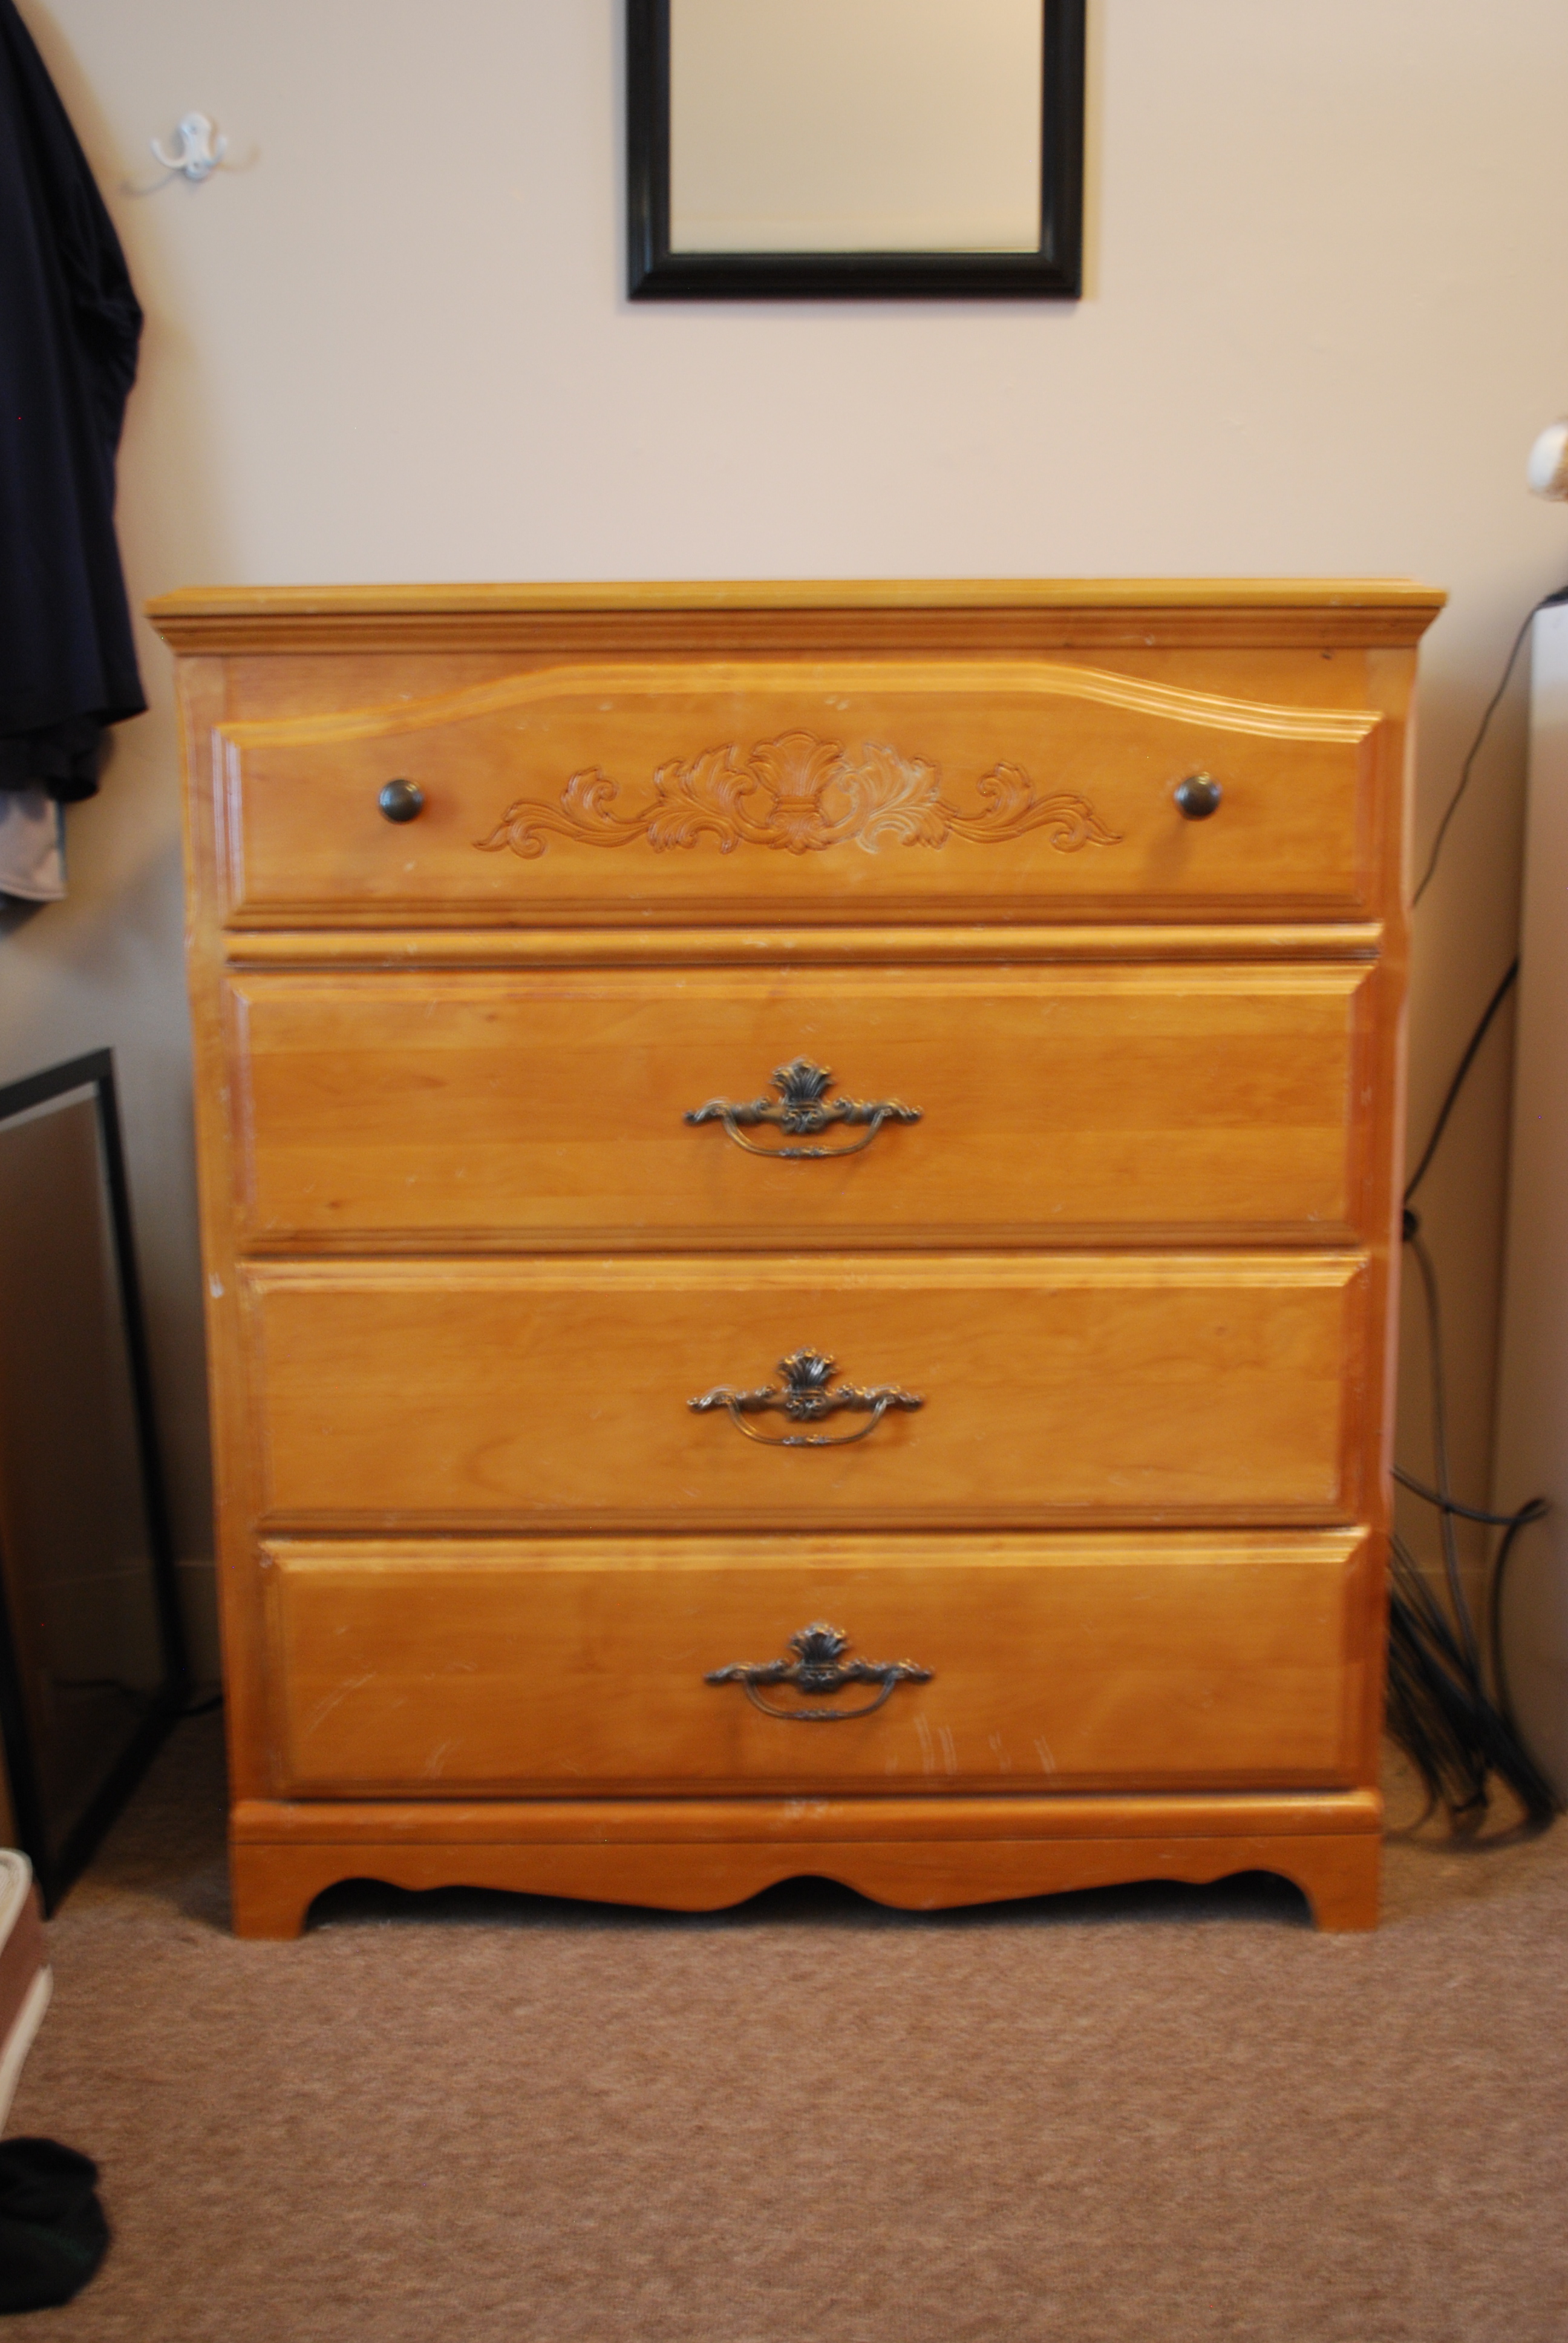
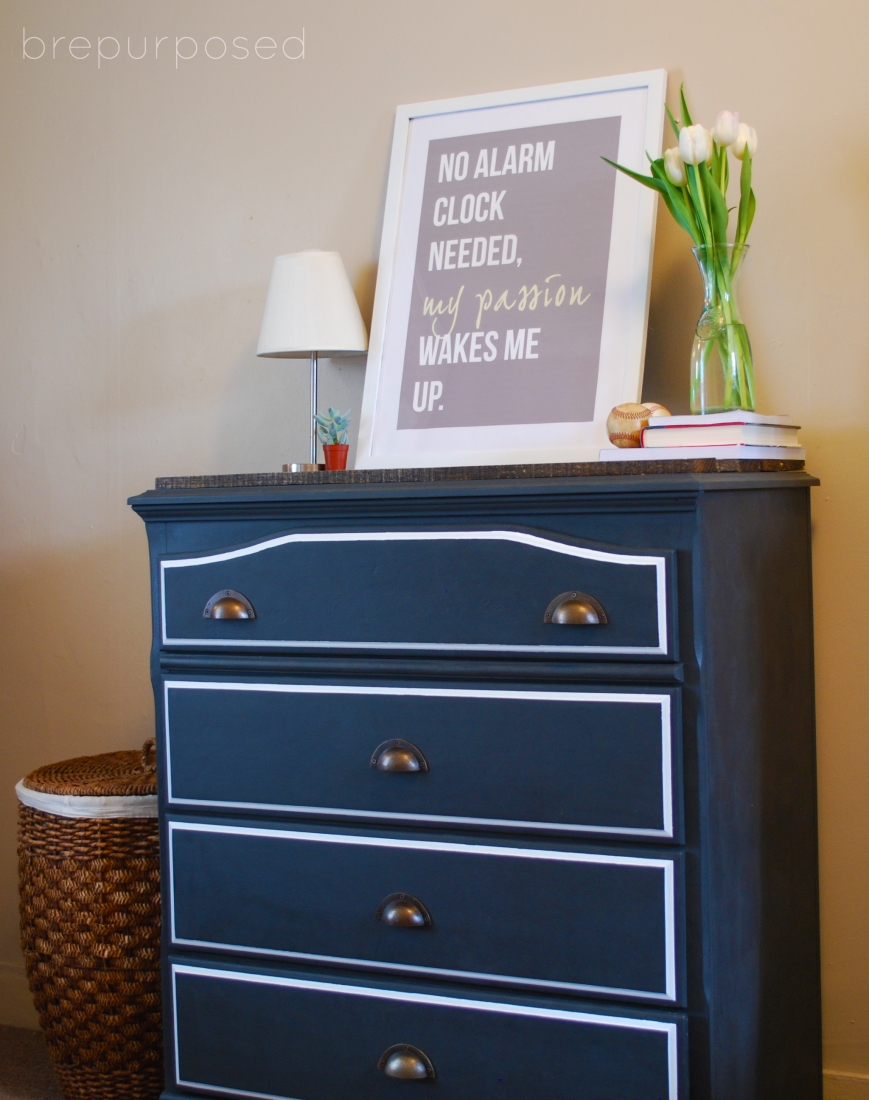
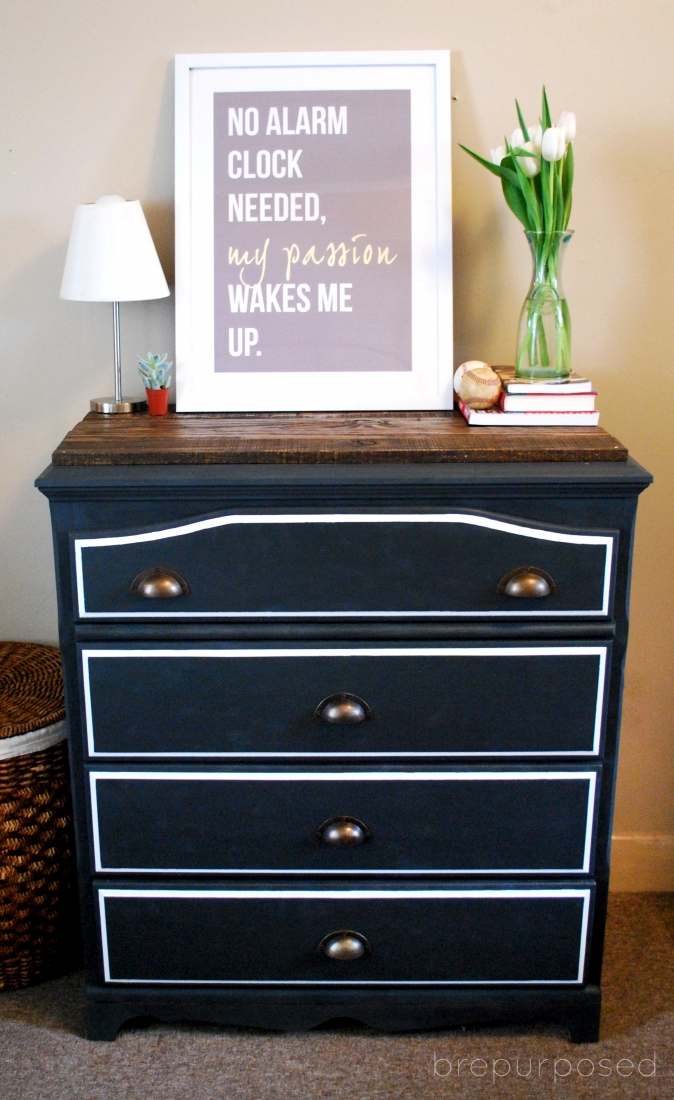
I don't mind the engraved design on the top drawer, but the hubs, not so much. This thing needed to be more masculine. I used Chalk Paint in Graphite, which I never would have known was a dark grey unless I had seen it in the store. It looks like Black on the website. It's still a dark color and I wanted to give it some contrast with a white border around each drawer. Since I was using Chalk Paint, no sanding or priming needed! First step was filling in that design and the holes, for new hardware.

I used Elmer's Wood Filler and had to do about three rotations of filling and sanding to get it to be completely smooth.

Time for the paint! I did two coats and after that dried, I used Frog Tape to tape off the white border. I used some leftover white trim paint I had laying around and did two coats of that as well.


Once the white dried, I used Clear Wax to coat the drawers. I'm still getting the hang of this stuff, and feel like this time around I had more trouble than the first. After applying, and buffing off, it looked a bit blotchy to me. Not sure if this had to do with the way I painted, or the way I applied the wax. Either way, applying some more and buffing in spots that looked untouched helped to minimize the blotchiness.
Due to the cold weather, I painted this baby right where it stood. I propped it up on some wooden blocks and painted the body of the dresser.

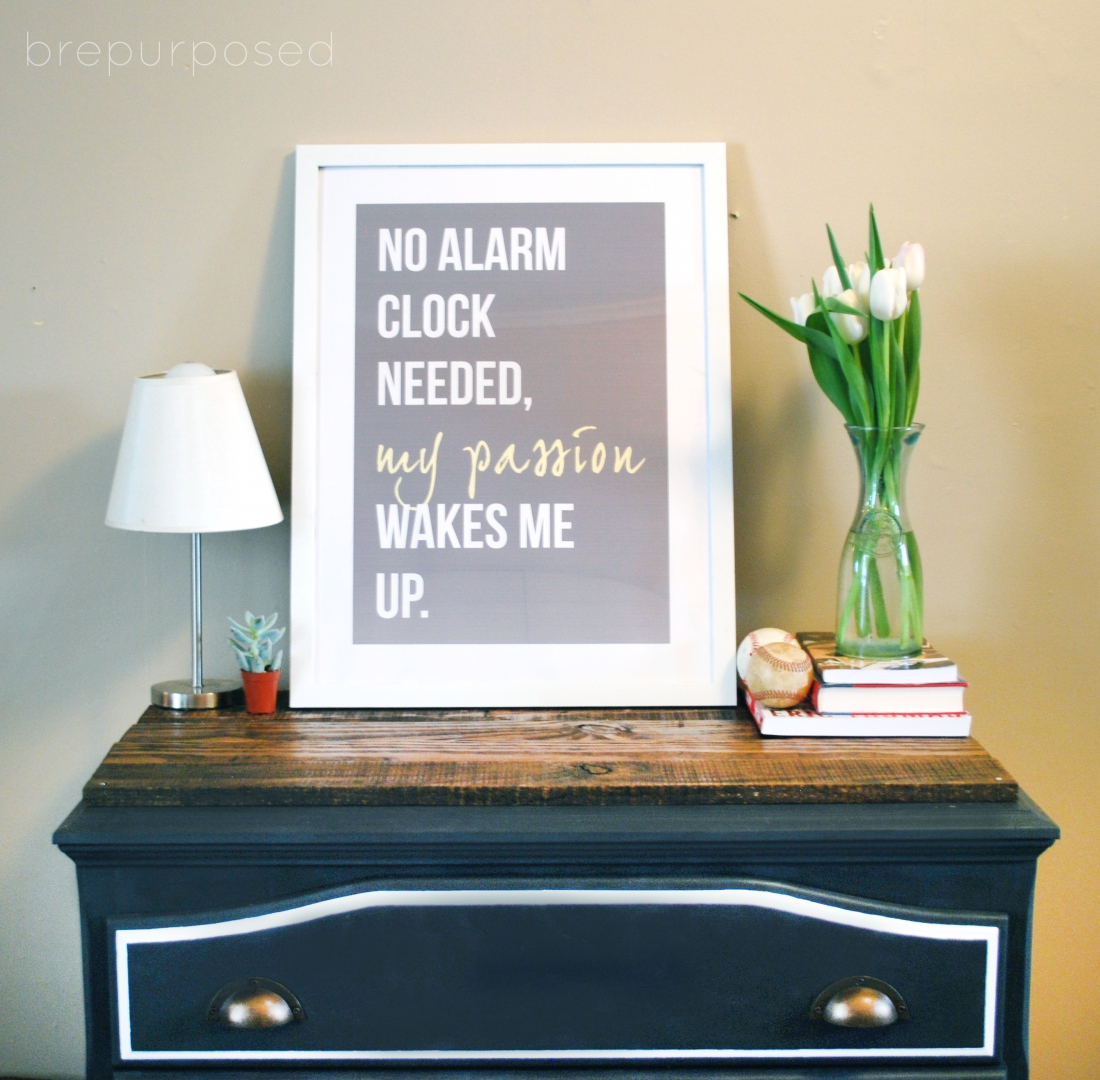
I used the rest of the pallet board I had left over that I used for my Tray and cut the pieces to size using my circular saw, in our kitchen once again.

I followed pretty much the same process that I used for my tray. 1.) cut 2.) sand 3.) glue 4.) wood stain conditioner 5.) stain and 6.) poly.


Once the top was dry, and the dresser was ready to go, it was time to attach. I used some wood glue first, but some of the boards were a bit warped and didn't sit very flatly. To fix that we just used some regular nails and nailed the boards to the dresser securely.
I finished this piece a while ago, but originally had chosen different hardware. Once I changed my mind, Hobby Lobby was one short of the pulls I needed. I had to wait almost a week for them to get restocked and then I could take my pictures. Note: it takes Hobby Lobby 2-3 days to unload their truck, boo.
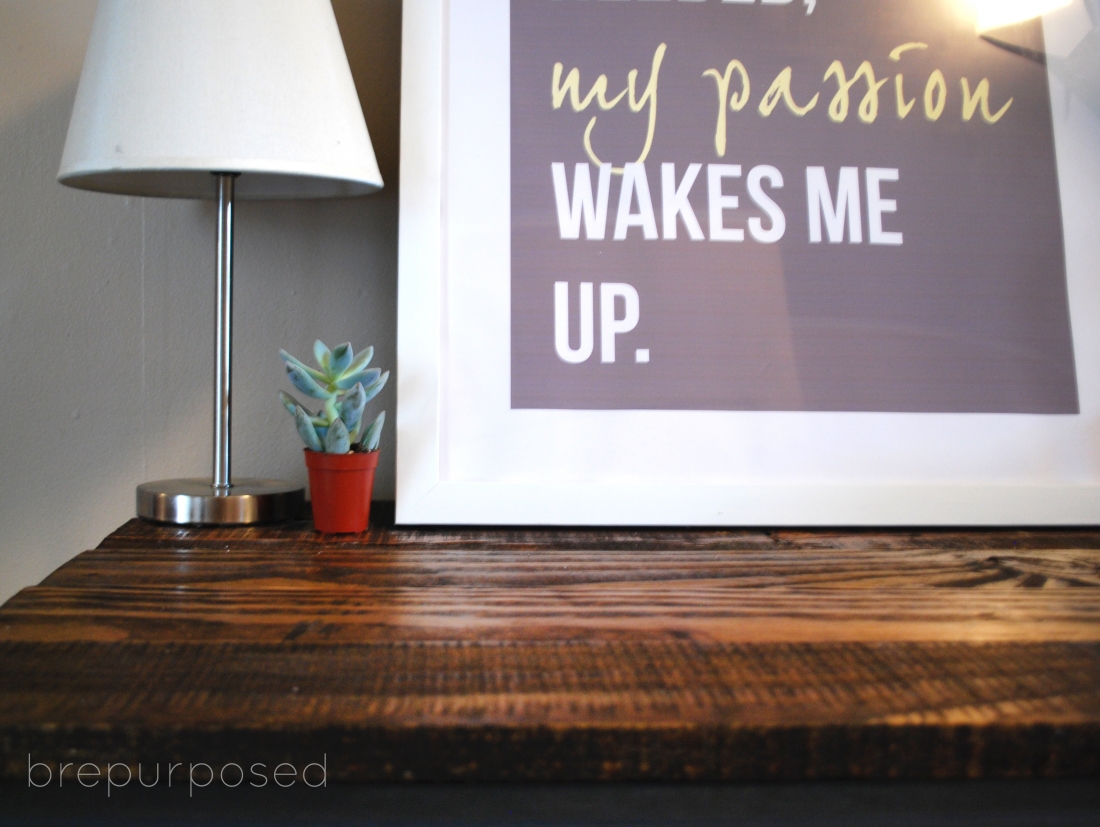
Now this is looking more manly isn't it?! The quote is from Eric Thomas, my husband's favorite motivational speaker. I designed it in Illustrator and printed it out for a frame we had laying around.

--------------------------------------------------------------------------------------
Thanks, Bre, for sharing this amazing makeover! What a girl after my own heart. She had me at Annie Sloan and Hobby Lobby.
As you can see, Chalk Paint® decorative paint by Annie Sloan isn't just for distressed, shabby looks. Thanks again, Bre, for showing us how to get a modern, manly finish with my favorite paint. Don't forget to check her out over at brepurposed to see more of her projects. I am a big fan!
This comment has been removed by the author.
ReplyDelete