I hope most of you saw my Goodwill dresser reveal recently. In that post, I talked about how two of the corners of the piece were damaged. It turns out, it wasn't that difficult to fix them. All I needed was some expert advice and a how-to video from home improvement guru, Ron Hazelton.
I followed his video step by step. Check out how it went.
 |
| My Goodwill find |
 |
| Crack #1 |
 |
| Crack #2 |
I had to purchase some materials, but I am glad I will have them for the future in case I run into another piece that needs some TLC.
Items I had:
clamps
putty knife
wood glue
WD-40
scrap plywood
utility knife
sandpaper
Items purchased:
dowels
My Home Depot didn't have the Minwax brand of wood filler. I ended up finding it at my local Ace Hardware store. I highly recommend getting this specific brand because it worked great and allows for filing just 30 minutes after application. I also suggest getting a 4 in 1 wood rasp/file to save yourself some money. It has four different file textures on it to shape your corner in stages. Start with the coarsest side and work your way down.
Here is a shot of getting the wood filler on. You have to work fast with this stuff because it hardens really quickly. You don't want to over work it, and clean your putty knife right away with acetone. I didn't do this the second time and ended up throwing it away because there was no getting the wood filler off once it dried.
Also, I had nice clamps because my hubby is planning on building me a farm table for my dining room. If you don't have clamps, get some like Ron uses in his video. They are only $.99 at Home Depot.
I apologize for the blurry pictures. My lighting was really bad that day.
Here is corner #1 after cutting it out with my utility knife and filing it down with my 4 in 1 rasp. I finished it off with some 150 then 220 grit sand paper.
Here is corner #2. I had a big chunk of this drawer that I was able to glue back on with wood glue before I added the wood filler.
 |
| Completed corner #1 |
 |
| Completed corner #2 |
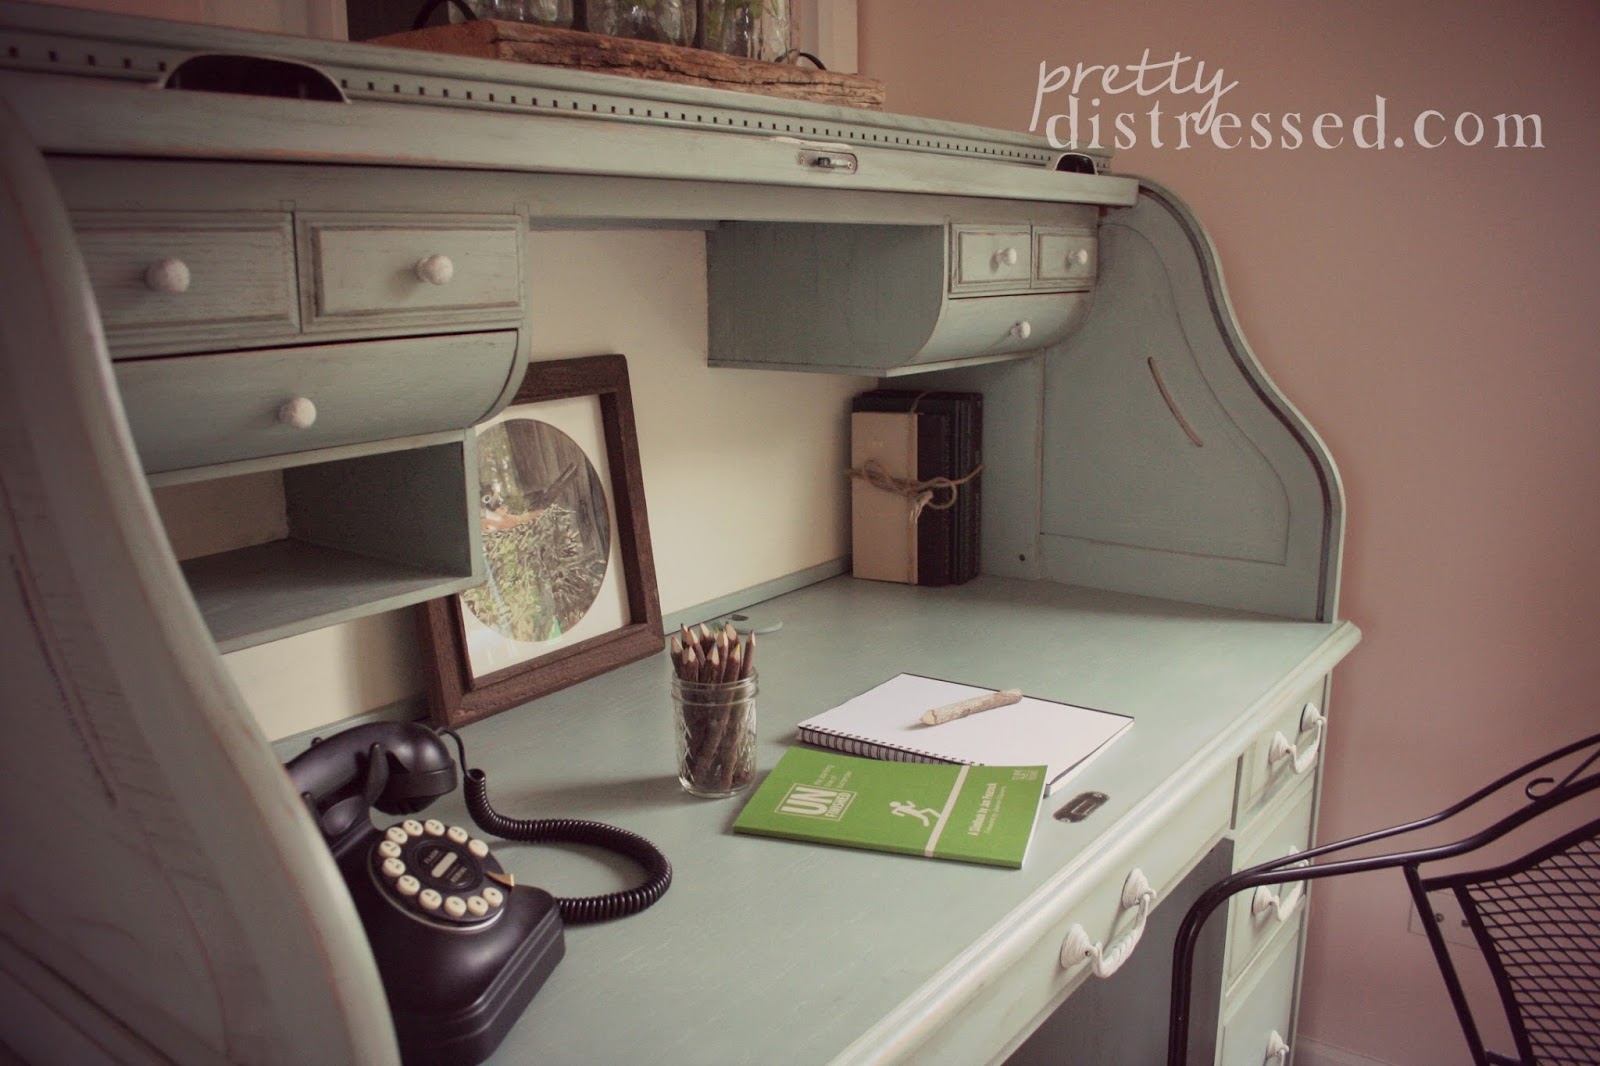
 |
| The finished piece |
Again, thank you to Ron Hazelton, for his easy to follow tutorial. I will never be intimidated by chipped furniture again. What about you? Do you feel more comfortable tackling furniture repair now?


