
This post contains affiliate links. I will receive a small commission for products purchased through these links.
I have wanted to make over my kitchen table into a farmhouse table for a while now, but I wasn't quite sure what I wanted to do with it. Then when I was reading one of my favorite blogs, Blue Egg Brown Nest, I fell in love with her kitchen table transformation. I knew I wanted something very similar, so I set to work.
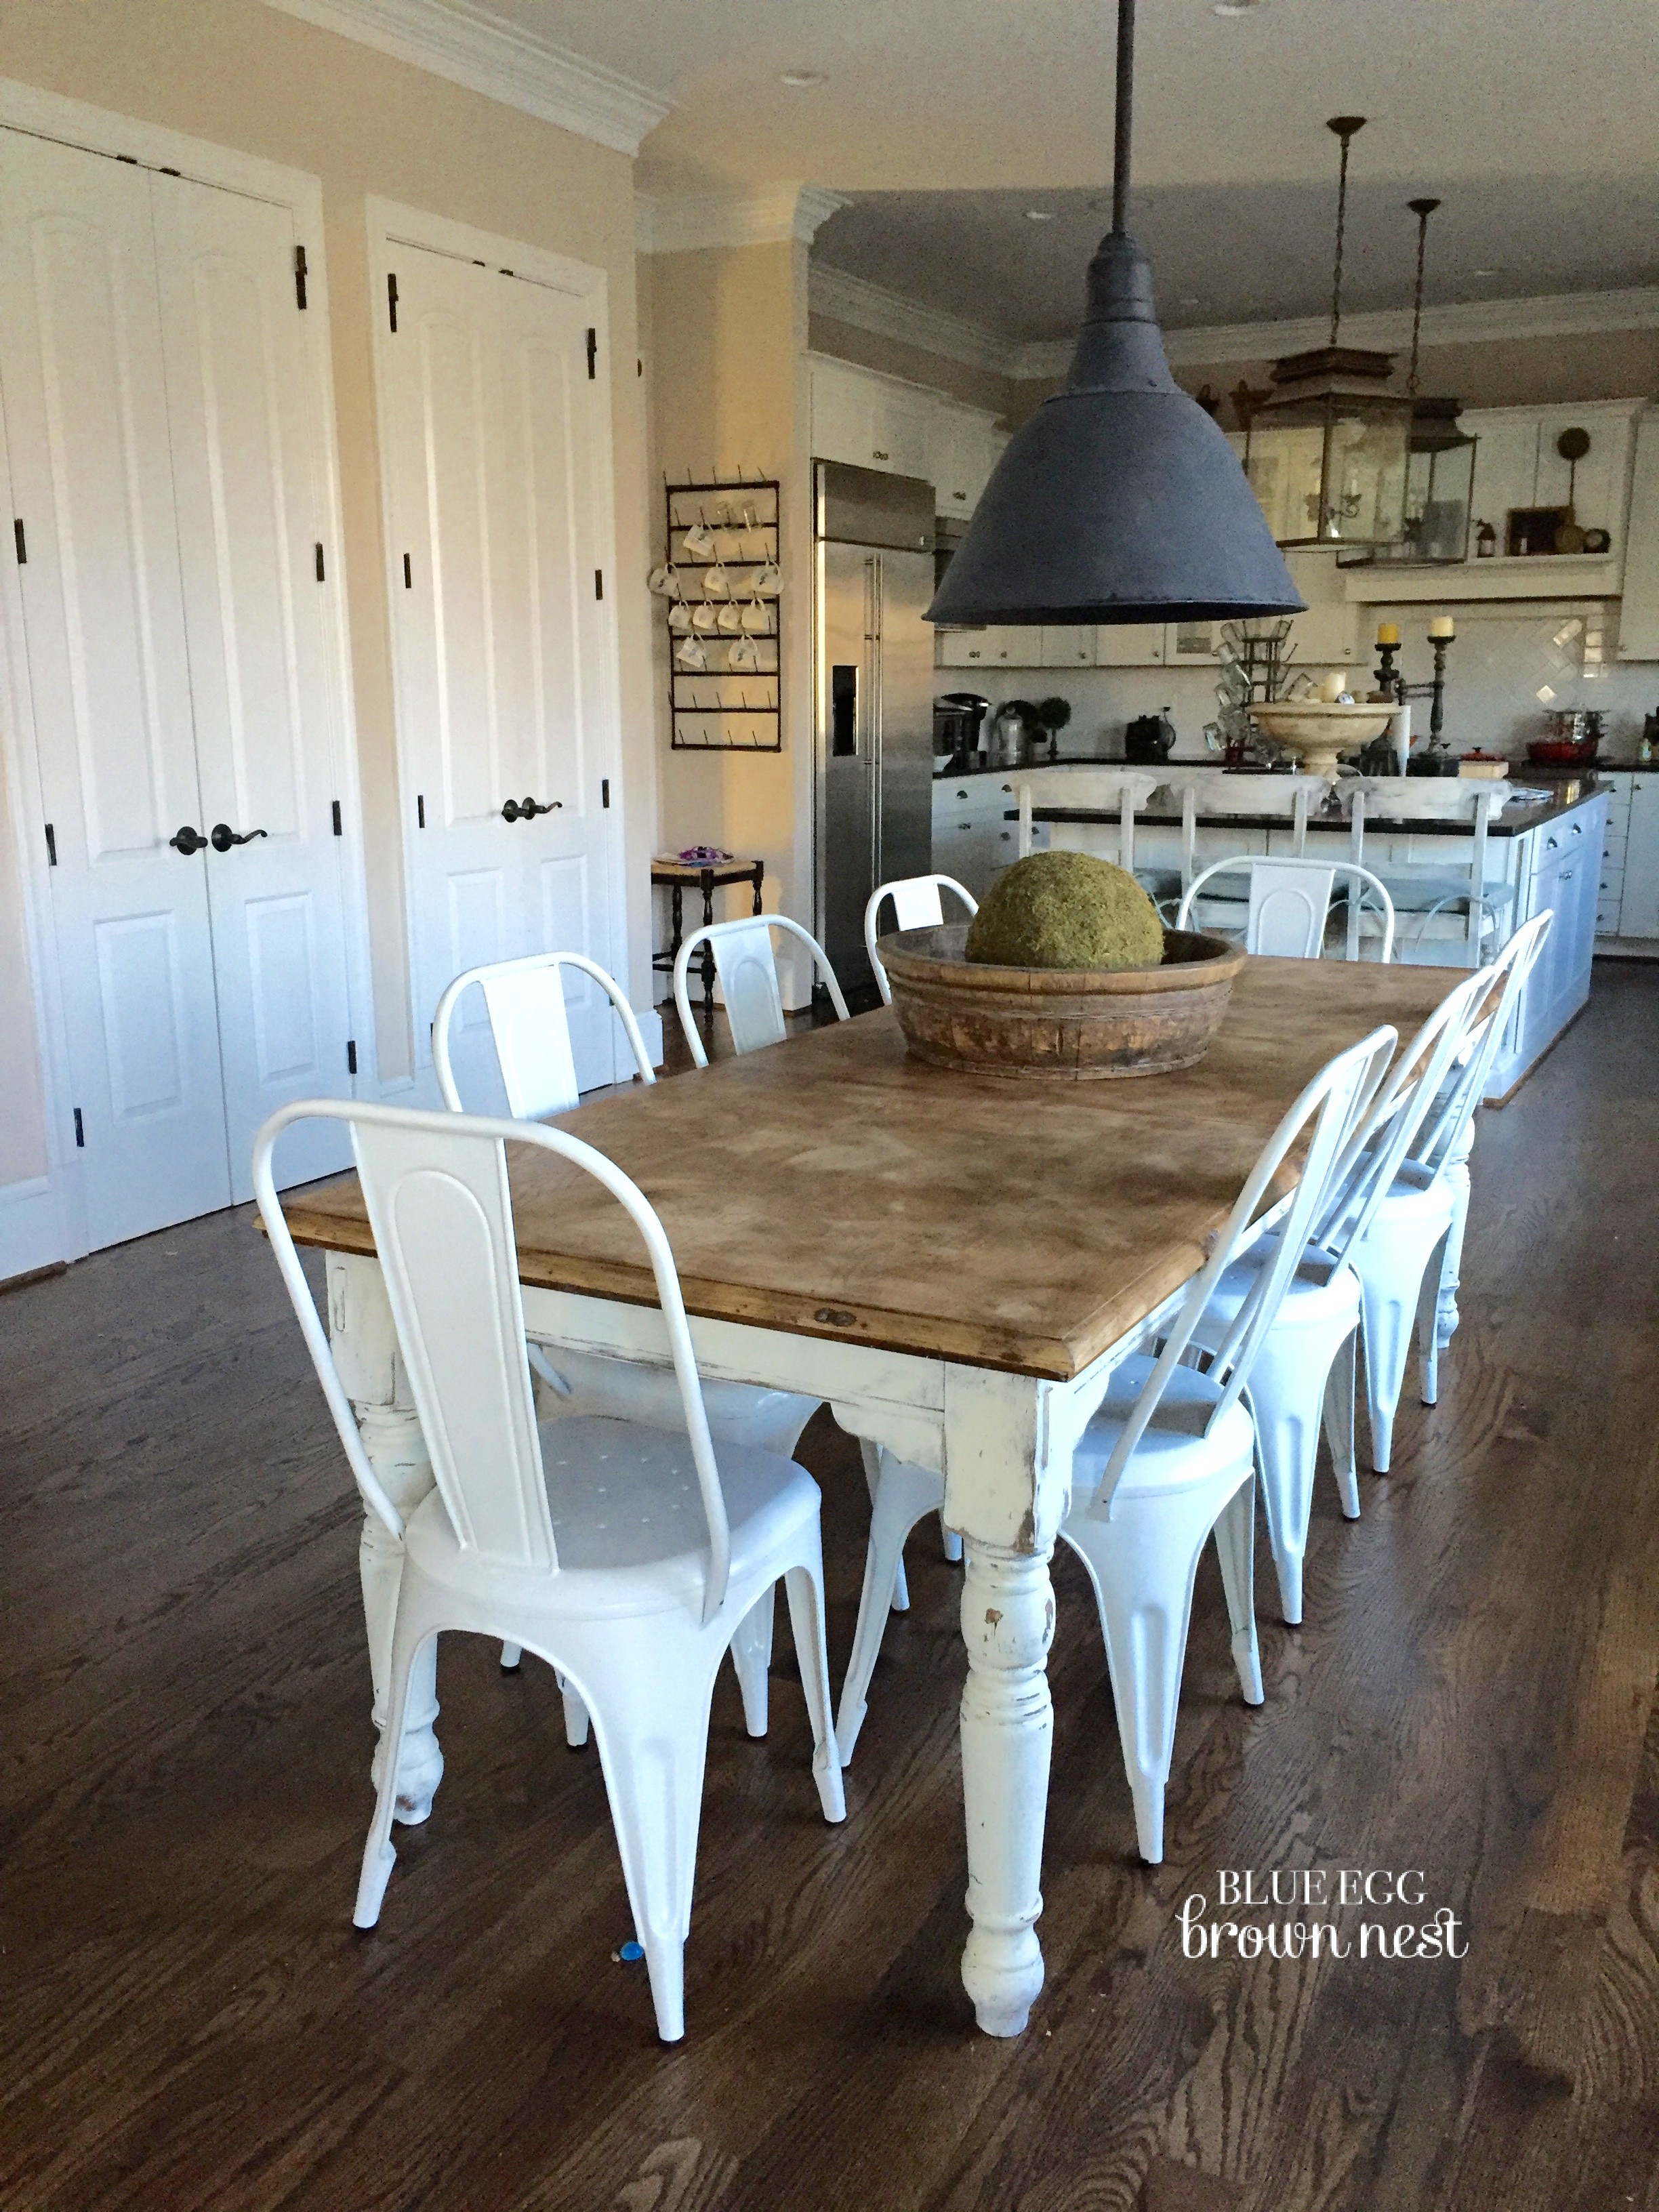 |
| My inspiration courtesy of Christen Bensten at Blue Egg Brown Nest. |
Here is what I was starting with. We bought this table from the previous owners of our home in Indiana. They were downsizing, so we were able to purchase a lot of their furniture at a great price. This table was in really good shape, but I was never a fan of the table top's finish. It was too orange for my taste, and the varnish was very dull which means it did not wipe up well. The chairs were pretty oversized and looked a little out of place in our small dining space.

And here she is now- light and bright. I just love the worn, farmhouse look of the table with the white metal chairs. It totally fits with my white kitchen, and I love the contrast it creates with my dark stained island.

I would love to tell you how easy this project was, but I am into telling the truth on this blog and not whitewashing (pun intended) the details. I decided I wanted to try to strip off the black paint on the apron and legs of the table, stain it a weathered oak color, and then do a coat of white paint on top. I wanted natural wood coming through versus the black. This turned into a big mess that I will save for another post where I will talk about using chemical paint stripper. To be honest, I am still scarred from this process, and it is just too soon to talk about it without getting red in the face or breaking out in tears.
So let's jump ahead. Here is my table stripped down to bare wood (or as close as I could get it). I used my Dewalt Orbit Sander for the table top, and it worked beautifully. It only took me about 30 minutes to strip the whole top using a 60 grit sandpaper disc. After I was done, I wiped it down with a tack cloth and went over the table again with a 220 grit sandpaper disc and wiped it down one more time. My table top is a veneer which means there is a very thin layer of wood on top of a pressed board or particle board, so I had to be careful not to sand right through the veneer.


After using two different chemical paint strippers and my orbital sander on the apron and legs, this is as close to natural wood I was going to get without losing my mind and my nose hairs. Stripping paint off of wood that was raw at its application, especially black paint, is pretty impossible, but let's save that for another post. I am starting to get angry, and you wouldn't like me when I am angry.
To stain the base of the table, I used Varathane Wood Stain which is a new product for me. It is really different from Minwax stain which is what I typically use. It is thicker, almost paint like and works a lot faster. I wiped it off only a couple minutes after I applied it. I was pretty nervous at first because the Varathane Early American was very different from Minwax Special Walnut. It was super orangey, but a coat of the Varathan Weathered Gray mellowed it out quite nicely. Phew!
 |
| 1st Coat - Varathane Early American Wood Stain |
 |
| 2nd Coat - Varathane Weathered Gray Wood Stain |


I took a hammer and screwdriver to the table top before I applied the wax to give it a distressed, worn look. I also left some of the spiral dents from my sander on the table. I applied the wax pretty unevenly to give it a farmhouse look and then wiped down the excess with a lint free cloth as I went. The color is just perfect! The dark wax on raw wood has such a beautiful patina.This was the most satisfying part of this project by far, and since the wax works as a sealant, I did not use a protective coat like a polyurethane or polycrylic on top of it.
After I let the stain dry for 24 hours, I did a very light coat of Annie Sloan Chalk Paint® in my go to color, Old White. Once that dried, I did some light distressing with 220 grit sandpaper to get some more of that natural wood to show through. Since I worked so hard to get that weathered oak color, I didn't want to completely cover it up. I decided not to wax the base at all and left it chalky just like the inspiration table.
I finished off the look with six white metal bistro chairs from Amazon at a great price. They wipe up so easily which is just perfect for my season in life with my three little mess makers.
I finished off the look with six white metal bistro chairs from Amazon at a great price. They wipe up so easily which is just perfect for my season in life with my three little mess makers.


We have been using the table for about a month now and the finish is holding up which is something I was worried about. Since it takes 30 days for the wax to cure, I made sure to not keep anything on the table for an extended period of time. It wasn't that hard. We just would clean up right after we ate and did most of our projects and homework at the counter.
I am only using hot water and maybe a little soap if needed to wipe up the table. This might freak you germophobs out. I don't have raw chicken on my table, so I am okay with not wiping it down with a disinfectant or chemicals. I think it is okay to use a Clorox wipe if need be every now and then. I just don't want to over do it.
This was a project a long time in the making, but I am really pleased with the results. Do you have a table you would like to turn into a farmhouse dream? Does this post scare you or inspire you? I hope inspiration wins out in the end!
Your videos and blogs have made the whole chalk painting and distressing process a lot easier and not so daunting. Thank You!!!!
ReplyDeleteThis comment has been removed by a blog administrator.
DeleteThis comment has been removed by a blog administrator.
ReplyDeleteThat table looked trendy and edgy! I also appreciate the distressed look in furniture. Something about it makes it look so cool and fashionable.
ReplyDeleteI would like to distress a gorgeous wooden dresser, which is a precious heirloom from my grandparents. I have watched your lovely and absolutely enlightening tutorials on YouTube featuring this process, so I was thinking of smoothing out the rough surfaces and edges with a sandpaper first, apply a burgundy red chalk paint colour as the first coat, then a greenish colour on top of it (Annie Sloan's ''Florence''is an ideal match to what I have in mind), lightly distress and then finish it off with two coats of clear and dark wax. I was worrying if the dresser's original colour would be a problem, since it is a very dark brown with a satin finish, which I strongly resent, to be honest. Do I have to use any special chemical colour removers before painting? Do the waxes utilised also serve as sealants and protect from insects affecting furniture? I would really appreciate your piece of advice. Looking forward to more video tutorials of yours, please keep up the great work! :)
ReplyDeleteThis comment has been removed by the author.
ReplyDeleteThank you for such a helpful tutorial using many different products and techniques!
ReplyDeleteGreat article ...Thanks for your great information, the contents are quiet interesting. I will be waiting for your next post find more info
ReplyDeleteFurniture stores...
Wow…it’s very nice of kitchen table transformation. I am also plan to start renovate my home next month and want to include your awesome idea of kitchen table transformation. Thanks you so much for sharing fully finished arrangements with matching seats.
ReplyDeleteRegards,
http://www.essaywriter.org.uk/nursing-essay/